Monday 17 June 2013

How to Make a Cushion From a T-shirt

Mr. Pea was clearing out some T-shirts so I nabbed one to make a cushion for him. There is probably a neater way to do this than my method, but it only took about half an hour and all the un-neatness is hidden on the inside!

You will need the following:
  • T-shirt
  • Sewing machine
  • Ruler
  • Fabric pen
  • Needle and cotton.

First pick your tee; I took this Pac-man one from Lee's pile of stuff for charity.


Turn the T-shirt inside out, make sure it is perfectly lined up so the seam at the top of the shoulders is at the top and not coming forward or back, you can pin it in place so it doesn't move when you put it in the sewing machine.
I marked on mine where the top of the pattern is so I could get the whole thing in, I used a ruler and a fabric pen to draw a line from the mark to the middle of the sleeves, just below the neck hole. This is the line which you sew down with the sewing machine, make double sure the t-shirt is inside out, I nearly sewed mine wrong as I kept checking the location of my line by turning it back the right way.
Once you have sewed down the line it will look like this:


That's the top all sewed up, so now to do the same to the sides. Decide how wide you want the pillow to be and draw a line again going down from the top line to the bottom of the Tee, do the same on both sides and machine those in. Now the only hole left is the bottom, I sewed about a couple of inches away  from the bottom so my cushion wasn't too long, just machine where the size feels good, to close the gap I only sewed half way across, as a cushion filler has to get in there.
Once the 4 edges have been sewn along, lay the T-shirt flat out on a table or floor and cut the excess fabric away.


Once all the excess has gone it can be turned inside out and stuffed with a cushion inner, polyester filling, or bean bag beans! Don't forget to stitch up the gap at the bottom, I used blanket stitch, another type of stitch would be more appropriate but my needle skills are limited.
Et voila, finished cushion 


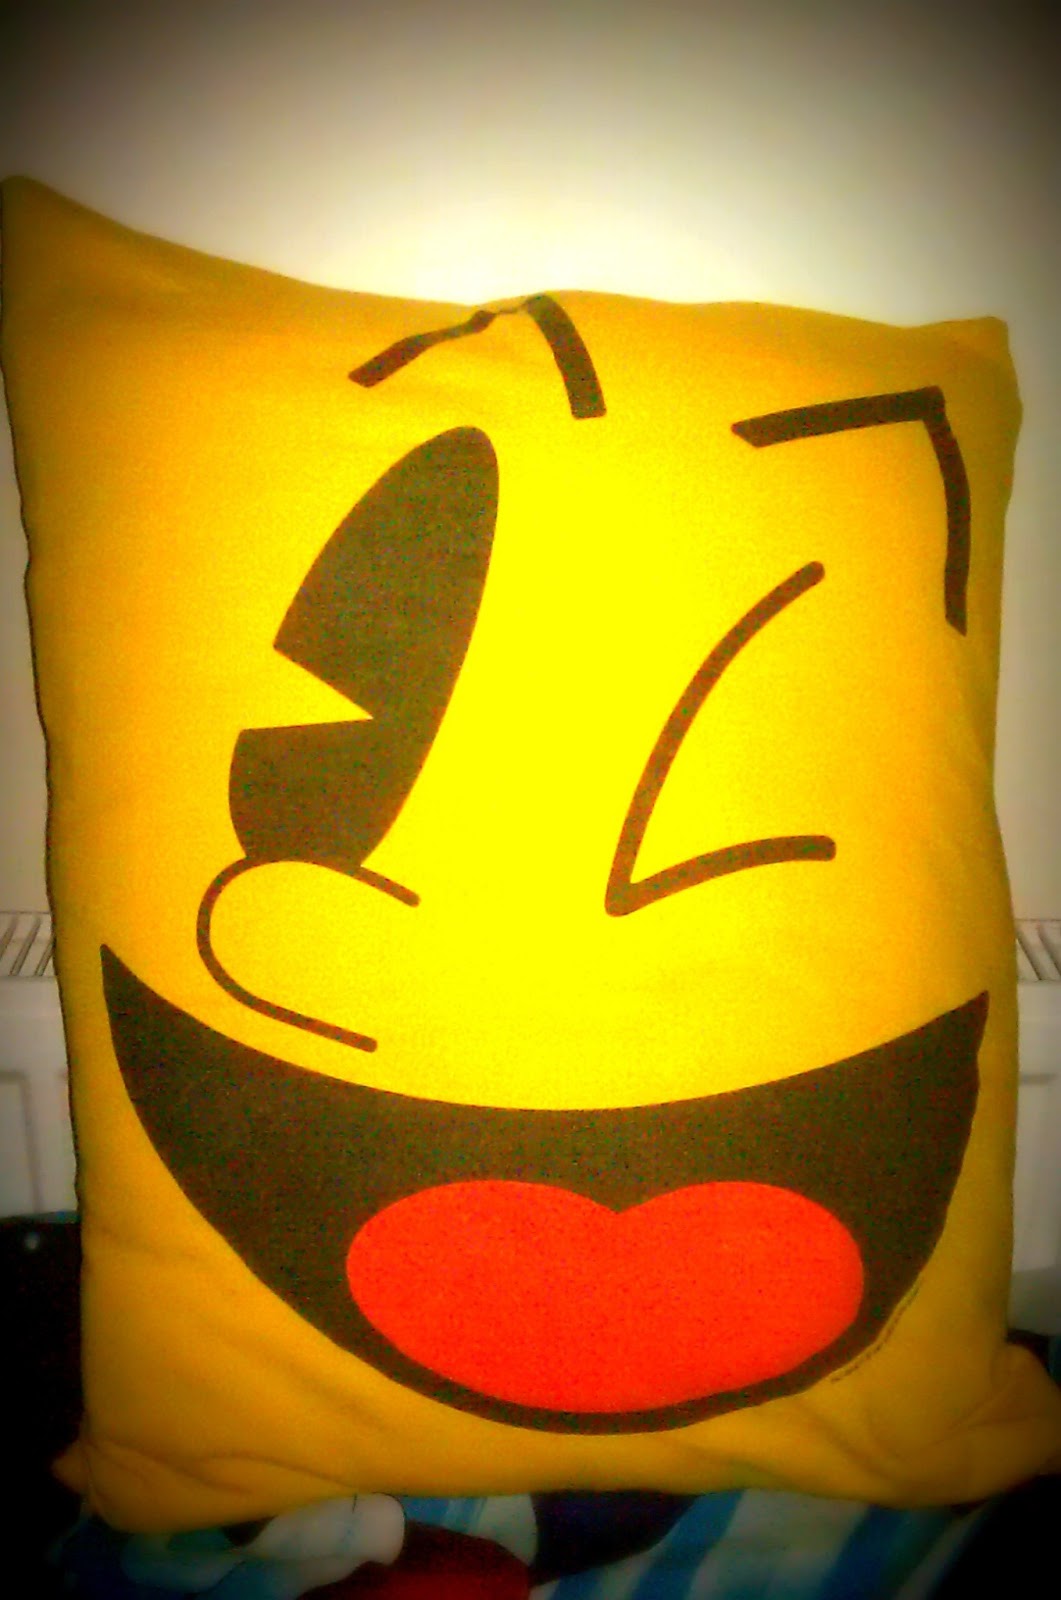
I couldn't find a cushion inner which fitted it very well so it's a bit wonky at the top but Mr. Pea doesn't mind.


Sunday 16 June 2013

Majora's Mask Shrink Plastic Key ring

Long time no see! I've been making, making and making this last couple of weeks. Mr. Pea's birthday pressie, plus a couple of customs to complete, has left me with zero blogging time!
I do however have time to share the Majora's Mask key ring I made for Mr. Pea. He loves The Legend Of Zelda and had sadly lost his wooden Majora's Mask key ring his brother got him from Etsy, so this seemed the perfect choice for a first shrink plastic project.

I bought a couple of packets of Shrinkles shrink plastic from The Range, one frosted and one clear. I decided to go with the frosted for this one. I drew Majora's Mask on it in pencil first and then went over it in Sharpie, the next time I use this I am going to use Sharpies from the beginning as I found it hard to rub the pencil marks off once I had gone over them, and the pencil marks also show through the light pens.

Finished Majora's Mask on the shrink plastic

I cut it out right up to the black outline, I've seen people make things from shrink plastic and leave a white border around the edge, I guess this would be useful for complicated pictures but this is quite a basic shape, even if it is a bit pointy.
Once he was cut out I punched a hole in the corner using a hole punch, the hole isn't as big and garish once it's all shrunk down.

All cut out and hole punched ready for the oven

Next the fun part, popping it in the oven! I stuck it on a foil lined baking tray as per the instructions, as there is no light in my oven I had to shine a torch in there to watch it curl up and eventually flatten, which means time to take it out. The hardest part was getting it out of the oven, picking it up and putting a book on it to flatten it before it goes hard, which happens pretty quickly. The foil is obviously super hot, so I used oven mitts but they were fairly clumsy... I think next time I'll use baking paper, I'm sure it'll work as well as foil minus the heat.

Finished!

There it is all finished and shrunk. The Sharpies darken quite a bit once shrunk, it looks very dark if it's not held up against the light. Next time I'll try either colouring pencils or lighter Sharpies from our increasingly epic collection! Overall I'm quite pleased with my first attempt at shrink plastic and so is Mr. Pea :)
Related Posts Plugin for WordPress, Blogger...